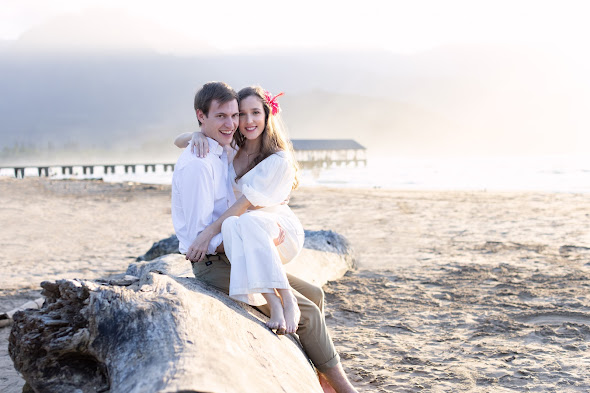
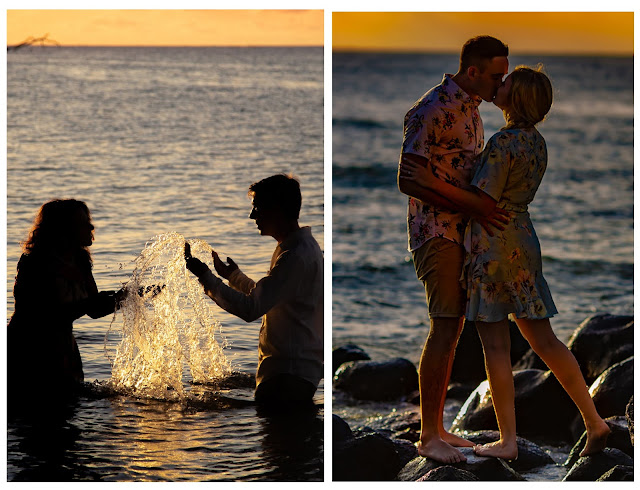
Almost white sky and dark brooding clouds
What your eyes see is not what a camera sees. What we see is what we see whereas a camera approximates based on the photographer’s light and back focus settings. We call this the exposure—a term that is basically meaningless to our eyes. To our eyes, if it’s bright outside it’s bright; when it’s almost night, it’s dark. If we’re inside a candlelit room it probably looks moody, and when we’re sitting on the beach staring at the ocean as the sun sets it’s glorious and if we’re wise we won’t stare directly into the sun. In photography, it’s not that straightforward. Imagine it’s noontime and you’re in the middle of a sweeping grassy field fringed by lofty trees to your left and several dramatic gray clouds above. I’m taking photos of you strolling along, the lofty trees sitting in shade are in the background. My camera's exposure settings would show you in the best light so that you don’t appear excessively underexposed or greatly overexposed. I could give you the photos right out of the camera and you might say, “Good enough; you love the pose, and you don’t need the photo edited.” But in the photo the sky is white and you cannot discern the dramatic cloud formations. The lofty trees on your left are kind of dark without much detail, but, well, you can’t see much detail over there with your eyes anyway. Do you really need the photos edited? So let me talk about editing. When I edit photos I work two tracks. The first track is basic editing. The second is creative. On the basic track, the first thing I do is adjust the photograph’s light, not as an overall photo adjustment, which you could do yourself with just about any photo application, but in seperate areas of the photo. I typically increase light in the shadows, often bringing up more detail than your eyes could discern. I then reduce the exposure of the highlight areas, which might include a modification called dehazing, so the details of the clouds, so dramatic to your eyes, reappear. This might be all that’s required In basic editing. However, on some photos additional basic editing maybe required, such as straightening the photo’s horizon, cropping and or recomposing, maybe simple object removal. Then I move onto creative photo editing. This is a very time consuming process, but it’s an art that can elevate enormously the look of each photograph. I might use image filters and matte techniques to add a mood or a particular theme if it’s appropriate for the photo sequence. Sometimes I’ll stretch the photo’s background to make the image more dramatic, or I’ll replace the background. Sometimes I’ll move onto beautifying the subject/s by removing blemishes and wrinkles, dark rings and puffiness under the eyes, making thinner, younger, more energetic looking. Occasionally, I add rain or more rain than what shows in the natural photo. I might add lightning, stormy clouds or a shaft of sunlight streaming out of the clouds, or a flaming sunset entering the velvety blue ocean. I make composites. In the images below there’s a before the edit and after. The before (top photo) shows that the day was bleak, rainy, a bit drab. In the second image you can see that I added warmth, a shaft of sunlight (left), and some subtle color to the sky. I got rid of the stick sticking out of the sand. I streched the background to the left and right of the couple making a more dramatic, wider photograph without altering the dimensions of the couple; in other words the second image is NOT a blow up. There was nothing wrong with the original shot. But the finished edited photo, that I also cropped at the bottom, is just so much better. Visit me at kauai Video Productions


Comments
Post a Comment